

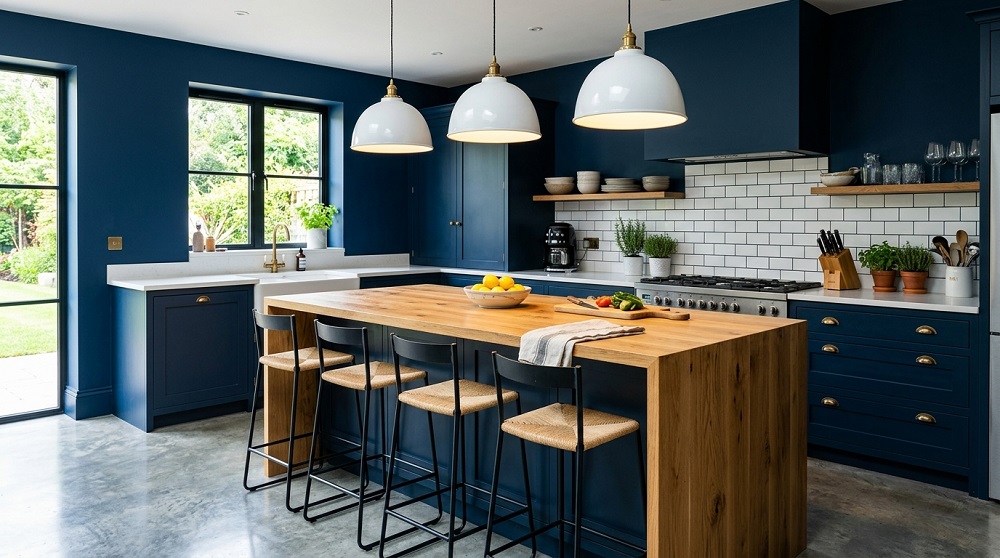
A kitchen renovation is the most expensive room-level project most homeowners will ever undertake, and the one where mistakes are hardest to live with. A badly placed sink or an awkward door swing will irritate you every single day for a decade.
The good news is that most kitchen regrets are predictable — and preventable at the planning stage, before anything is ordered or demolished.
Table of Contents
Start With How You Actually Cook
Before looking at a single door finish, spend a week paying attention to your current kitchen. Where do you put shopping down? Where does the bin need to be? Which cupboard do you open forty times a week?
Design around those answers rather than around a magazine layout. A kitchen that photographs beautifully and works badly is a very expensive disappointment.
The Layout Decisions That Matter Most
The Working Triangle
Sink, hob and fridge should form a comfortable triangle with no major obstacle between them. If any leg is longer than about 2.7 metres, or if the route crosses a busy walkway, cooking becomes a series of small annoyances.
Zones, Not Just Cupboards
Group storage by task: prep near the chopping area, pans near the hob, plates near the dishwasher. This single principle does more for daily usability than any premium fitting.
Clearances
Allow at least 1 metre between opposing runs, more if two people cook or if a dishwasher door opens into the space. Check that appliance doors and drawers don’t collide when open.
Budget Realistically
A workable split for a mid-range renovation:
- Cabinetry — around 35–40% of total spend
- Appliances — 15–20%
- Worktops — 10–15%
- Labour and trades — 20–25%
- Contingency — 10–15%, non-negotiable
That contingency is not optional padding. Old walls hide surprises: dated wiring, failed pipework, uneven floors. Almost every renovation finds at least one.
Spend and Save in the Right Places
Worth paying for: cabinet carcasses and drawer runners, worktop material, extraction, plumbing and electrical work, and the trades doing the fitting.
Safe to economise on: door fronts, handles, tiles, tap styling, and lighting fixtures. These are visible, replaceable, and rarely determine whether the kitchen functions.
The rule is simple — invest in what is difficult or expensive to change later.
Get the Boring Things Right
Three unglamorous elements make more daily difference than any finish:
- Extraction. An underpowered hood leaves grease and smells on every surface in the room.
- Lighting. Ceiling lights alone put your shadow on the chopping board. Under-cabinet task lighting is essential.
- Sockets. Plan more than you think you need, at worktop height, where appliances will actually stand.
Sequence the Work Properly
Renovations go wrong when trades arrive in the wrong order or materials turn up late.
The usual sequence: strip out, first-fix plumbing and electrics, plastering, flooring, cabinet installation, worktop templating and fitting, second-fix, tiling, then decoration. Worktops are usually templated only after cabinets are in — that gap is normally one to three weeks, so plan for a temporary kitchen.
Plan for the Disruption
Expect six to ten weeks for a full renovation. Set up a temporary kitchen elsewhere with a kettle, microwave and washing-up arrangement, and accept that the dust travels further than you’d believe.
Planned properly, it’s a manageable inconvenience. Planned optimistically, it becomes the reason people say they’d never renovate again.